1 November 2014

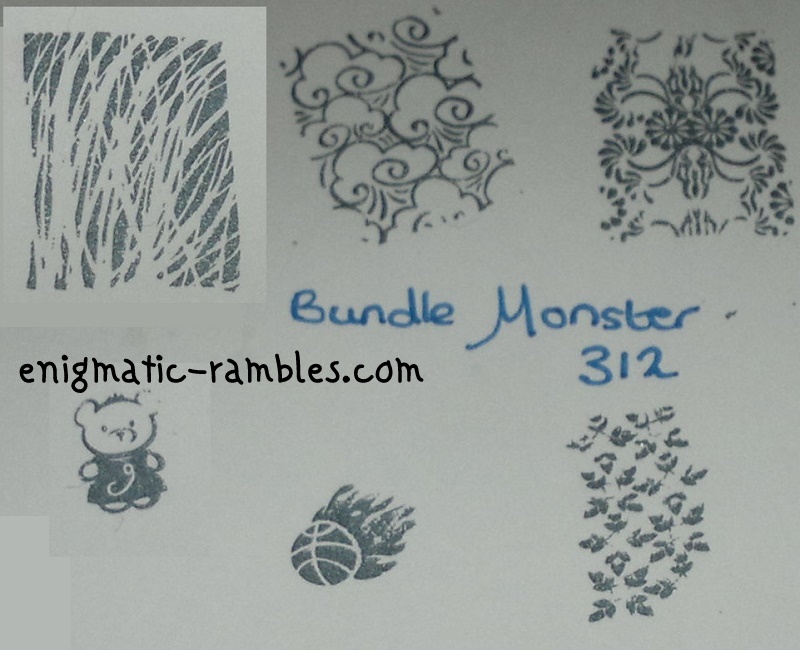
Stamping Plate: Bundle Monster 312 (BM312)

Review-Bundle-Monster-312-BM312

This stamping plate is from the third Bundle Monster set, from 2012. It is backed with branded lining to stop it from being sharp. This is useful, without it it is easy to slice open your fingers and palms which I have been known to do accidentally in the past with other stamping plates.

Review-Bundle-Monster-312-BM312

On this stamping plate there are four full nail images, and two single images. All of these stamped well. 

Below are some nails I did using this plate:

Review-Bundle-Monster-312-BM312
[Details Here]

Review-Bundle-Monster-312-BM312
[Details Here]

All of the nail art I have done using this stamping plate can be found HERE.


31 October 2014

Swatch: Jacava - Damson Delight

swatch-jacava-damson-delight

Colour: Ox Blood
Finish: Cream
Opacity: Two Coats
Brush Type: Standard
How Much? 12ml
Anything Else? Very Long Neck Bottle

30 October 2014

Pick n' Mix 52 Week Challenge: 1980s + 3 Dark Colours

So on my thumb nail I did a base of three dark colours, and some freehand Nintendo nails. Super Mario first was released in 1985 and the GameBoy in 1989.

freehand-super-mario-gameboy-nintendo-nail-nails-art

Polishes Used:
OPI - Road House Blues
ELF - Mean Machine
Barry M - Plum
Maybelline - Cool Blue

Acrylic Paints

29 October 2014

Halloween Nails: Haunted House

Haunted House Gated Nails

halloween-haunted-house-gates-nails-nail-art-moyou-london-gothic-collection-01-04

Base Polish: Laquerlicious - Burnt Marshmallow
Stamping Polish: MoYou Nails - Special Nail Polish - Black
Stamping Plate: MoYou London Gothic Collection 01 and 04

28 October 2014

Tutorial: Full Nail Decal

This is how I make and use a full nail decal.

What did I use?
- Nail Stamper
- Stamping Polish
- Stamping Plate (Bundle Monster 411)
- Nail Polishes
- Top Coat

First thing I did was put the stamping polish on the plate, scrape off the excess, then roll the stamper over the image getting the image on to the stamper head.


Then I used MUA's Frozen Yoghurt in the centre of the patchwork 


Filled in two other areas with ELF's Teal Blue


Finished off the filling in with Sally Hansen's Dorian Grey


Then covered it all with a thick top coat and left it to fully dry for 30mins


Once it is dried you can gently peel off the decal / sticker


Next I painted my nail with a topcoat to give the decal something to stick too


Next I placed the decal on the nail and pressed it down so there are no air bubbles


Once you have top coated the image and let it dry you can begin to pull away the excess. You can use acetone on a clean up brush for a perfect edge.


These are the finished nail design I came up with using this method and design